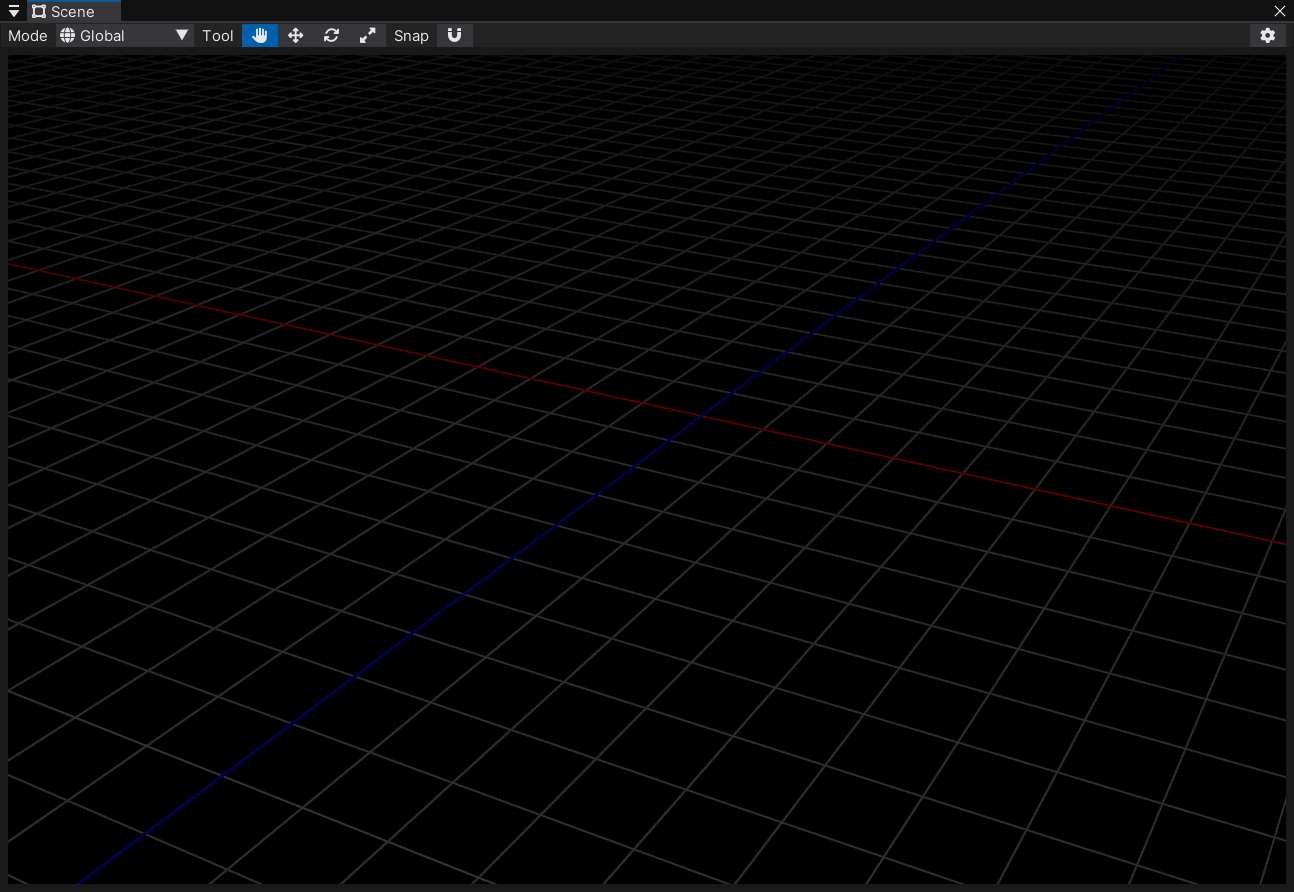
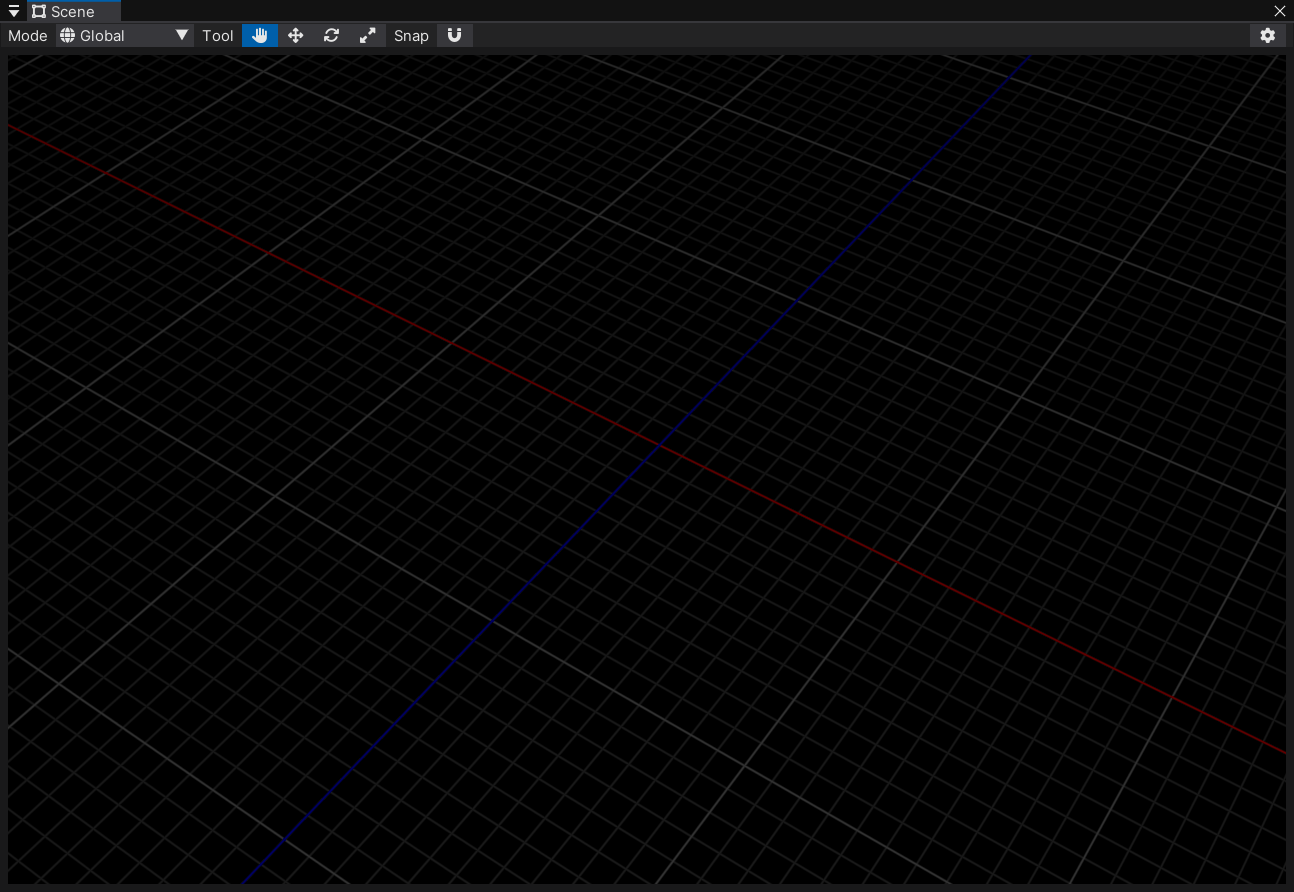
Scene View 无限网格
大部分 DCC 都有无限网格,帮助我们确定物体所处的空间位置。我也给自己的引擎加上了这个功能。
思路
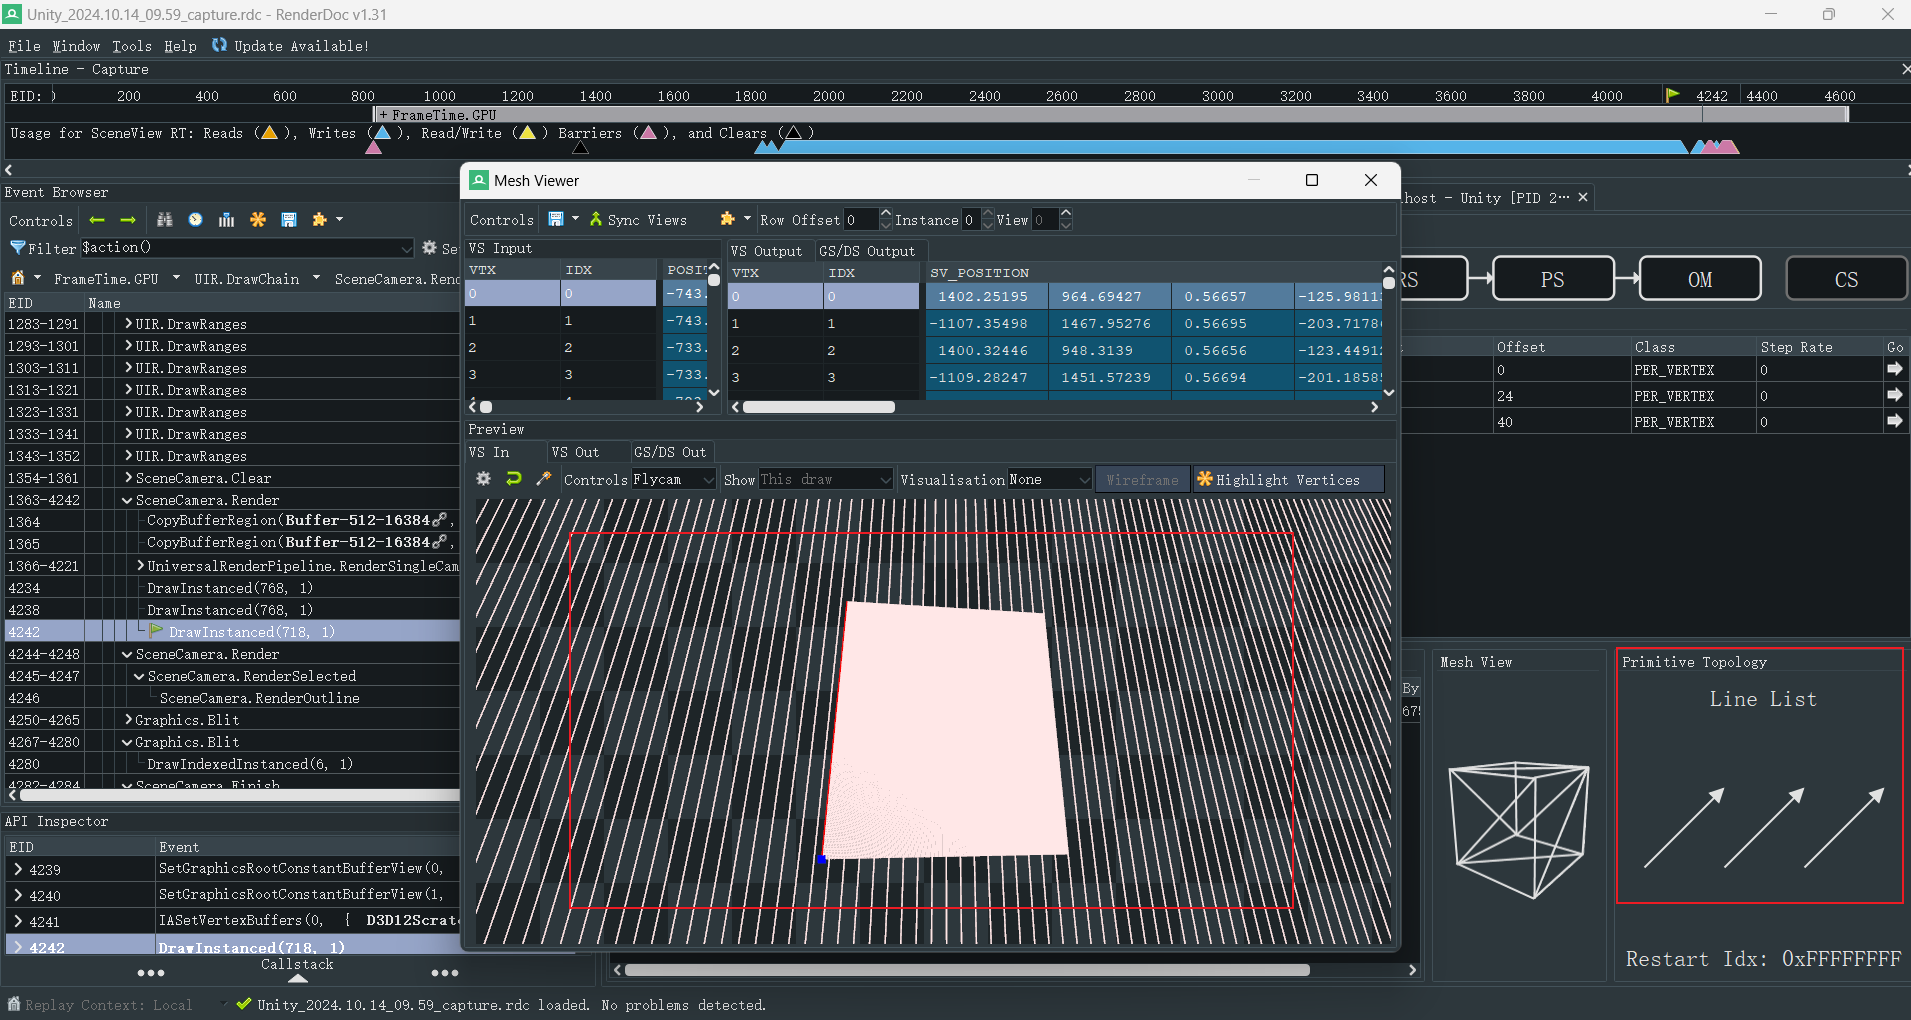
因为网格是无限大的,所以我第一反应就是屏幕空间重建世界坐标绘制。我看了下 Unity 的实现,应该是 CPU 上把网格算好,然后生成 Line List Mesh,再给 Shader 画上去。
Unity 的实现感觉有点麻烦,我还是用屏幕空间了。
重建世界坐标
之前我写过 深度重建世界坐标 的方法,但这次深度是未知的,不能直接用。我看网上的文章都是近平面算一个点,远平面算一个点,计算连线和 XOZ 平面的交点。其实深度可以直接算出来。因为 XOZ 平面上的点 positionWS.y == 0,带入逆矩阵法的推导中,由公式
positionWS.y = dot(MatrixInvVP[1], positionCS.w * positionNDC);
得到深度
positionNDC.z = dot(MatrixInvVP[1].xyw, positionNDC.xyw) / (-MatrixInvVP[1].z);
深度要用 SV_Depth 输出,保证之后能正确地进行深度测试。然后直接套公式就有世界坐标了。
生成网格
生成网格需要对 xz 坐标应用周期函数,常用 frac。frac 有很多种定义 1,hlsl 文档中说得也不太清楚:
Returns the fractional (or decimal) part of x; which is greater than or equal to 0 and less than 1. 2
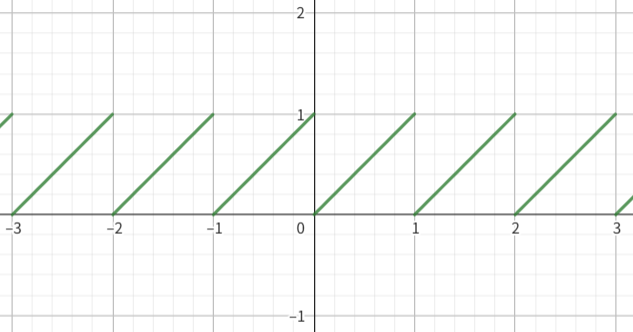
我测试了下发现
通常用一对花括号表示这种计算 frac 的方法
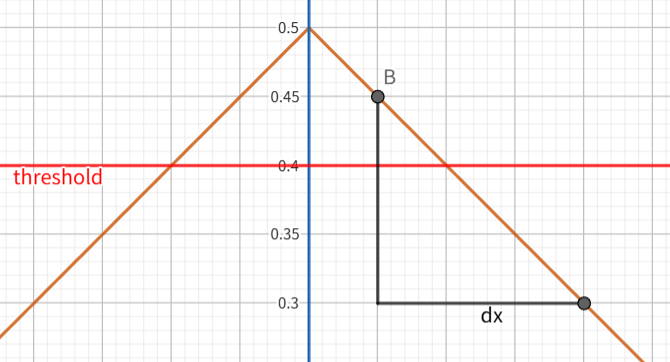
稍微变化一下就能生成三角波
大于阈值的部分就是网格线。
反锯齿
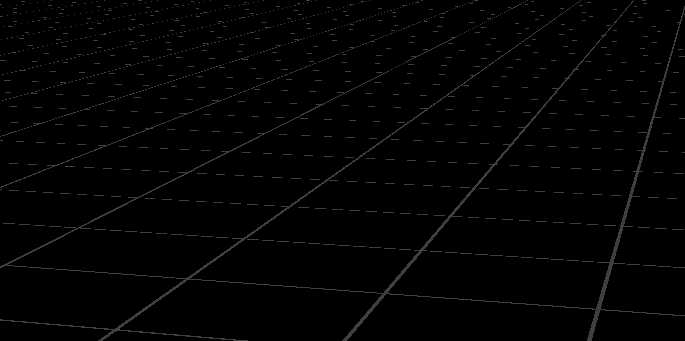
直接用 step 绘制的网格线锯齿很严重,尤其是斜着看远处的时候。
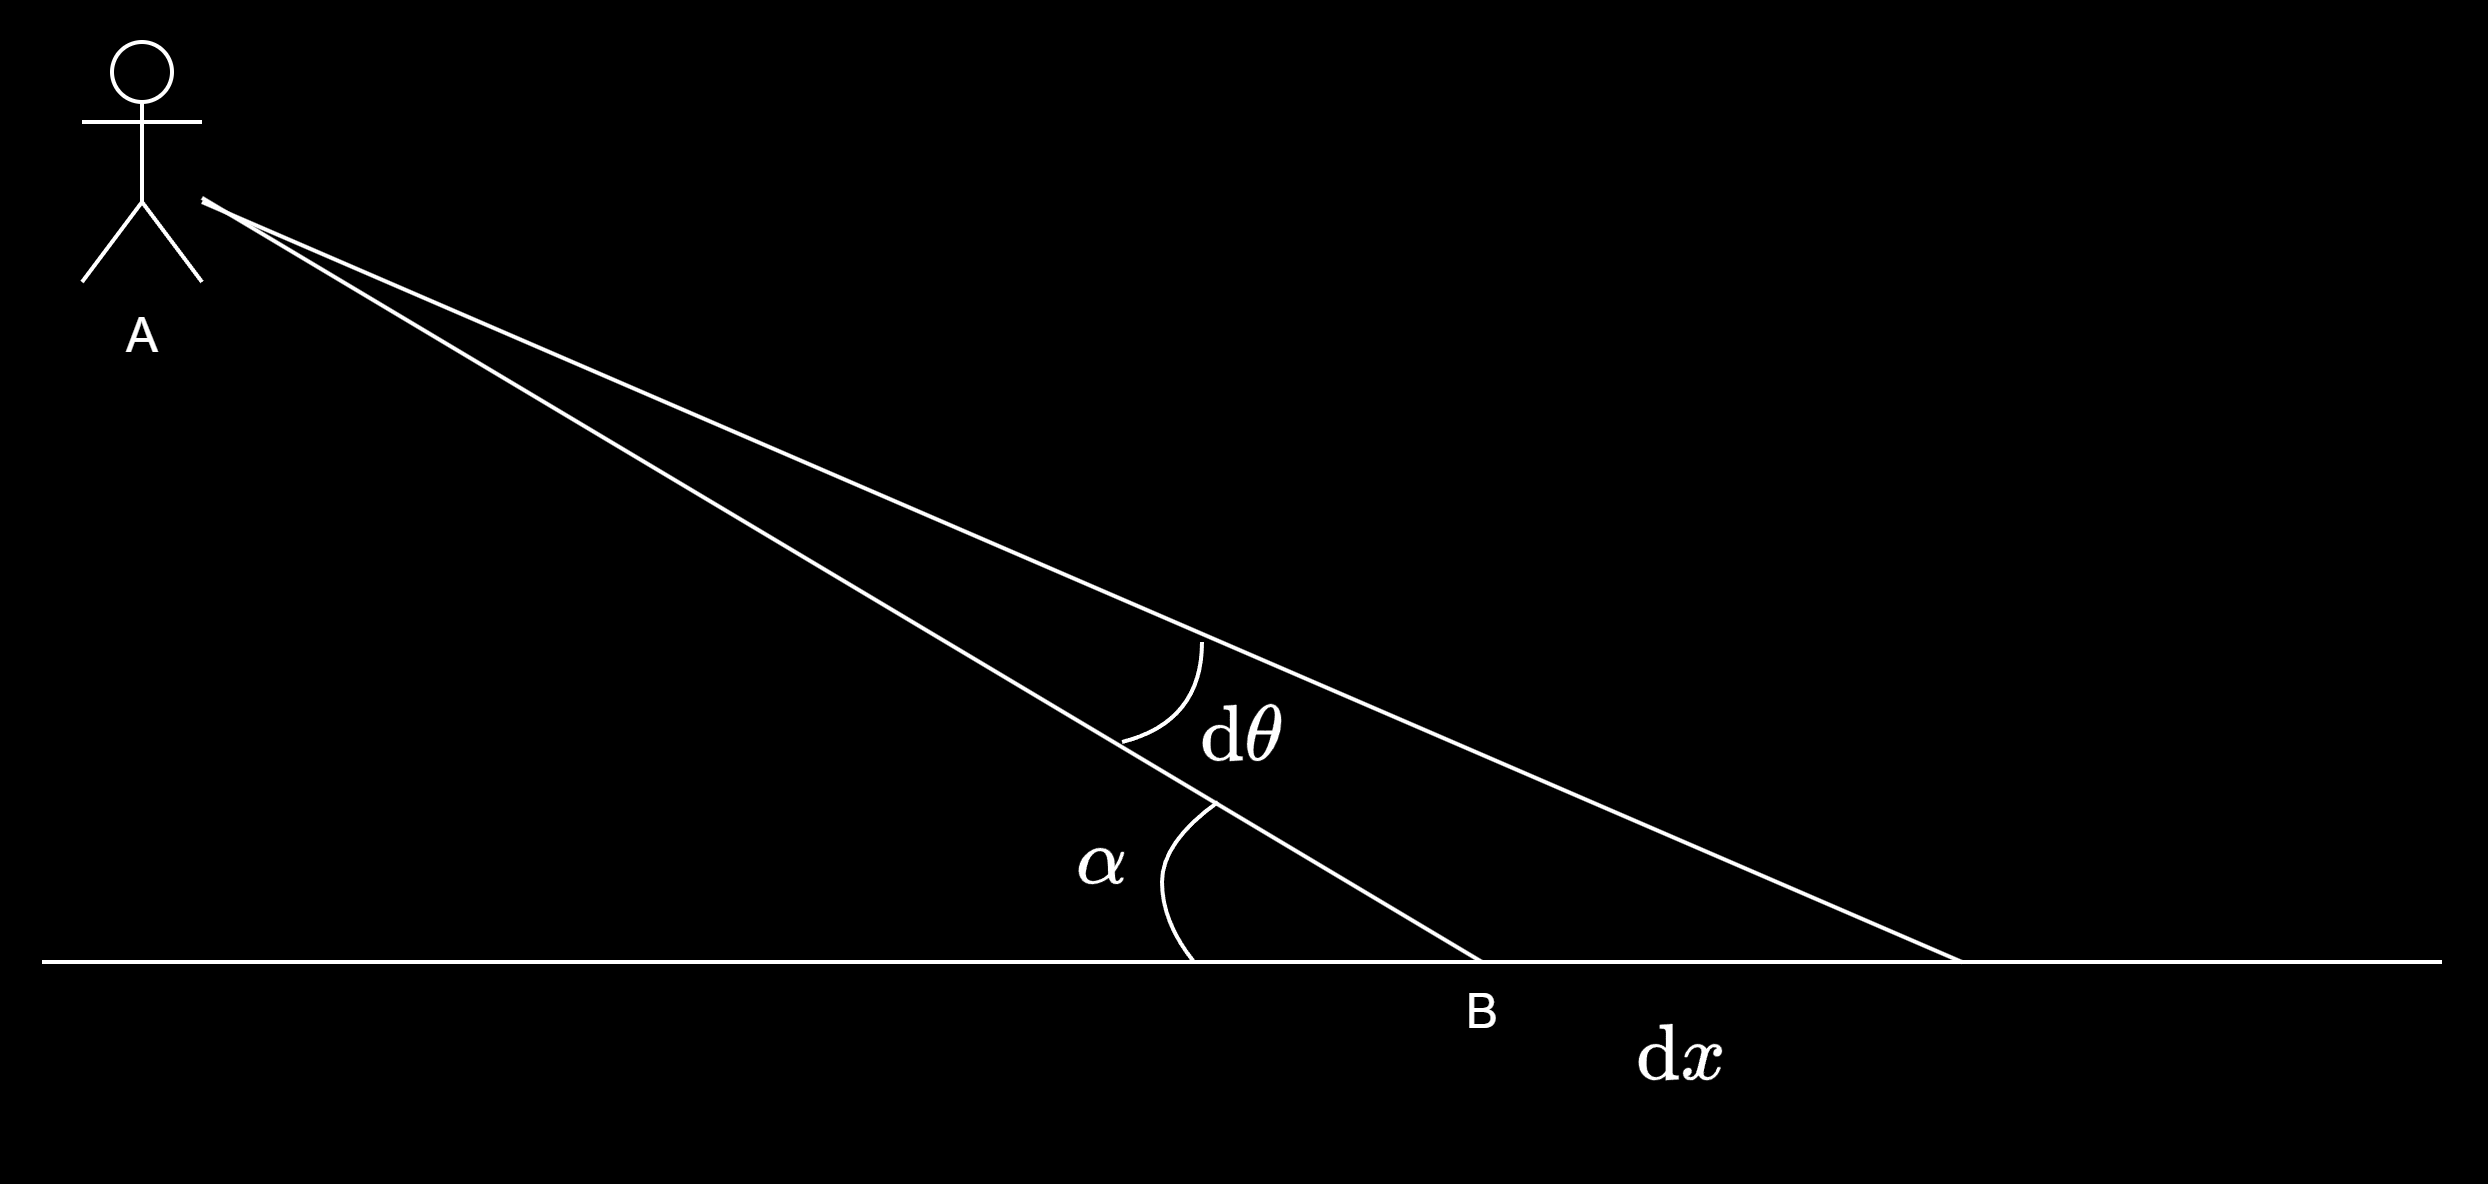
简单建个模分析一下:假设一个人在 \(A\) 点,与地面夹角为 \(\alpha\) 观察 \(B\) 点处的网格。
可以算出
当 \(\mathrm{d} \theta\) 不变时,距离 \(\left | \text{AB} \right |\) 越大,夹角 \(\alpha\) 越小,\(\mathrm{d} x\) 越大。\(\mathrm{d} x\) 就是屏幕上相邻两个像素对应的 positionWS 的距离,也是在三角波上相邻两个采样点的间隔。
采样间隔越大,就越不准,越可能漏掉网格线,导致锯齿。所以应该根据 \(\mathrm{d} x\) 动态调整阈值,\(\mathrm{d} x\) 越大,阈值就越小(网格线越粗)。对相邻像素的 positionWS 做 差分 就能估计出 \(\mathrm{d} x\),因为要同时考虑屏幕的 X 方向和 Y 方向,所以使用 fwidth 函数,即 abs(ddx(x)) + abs(ddy(x))。
float2 diff = fwidth(positionWS.xz);
另外,把 step 换成 smoothstep 羽化网格线的边缘,可以进一步减少锯齿。
淡化远处的网格
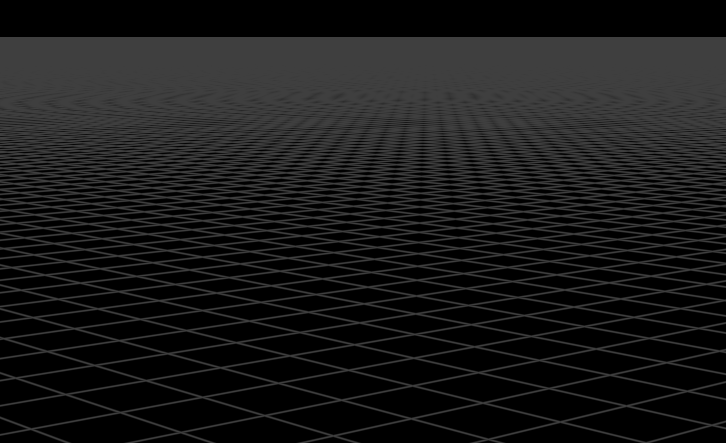
现在锯齿没了,但远处的网格看上去非常密,很丑。
可以像网上的文章一样,计算 LinearEyeDepth 或者 Linear01Depth 然后将远处的 alpha 变小。也可以直接用 \(\mathrm{d} x\) 来调整 alpha。根据前面的公式,线越密的地方 \(\mathrm{d} x\) 越大,反之亦然。
分层
根据相机离 XOZ 平面的距离,选择不同的格子大小绘制网格线。如果两条线之间的距离是 gridWidth,则
float2 scaledPos = positionWS.xz / gridWidth;
float2 diff = fwidth(scaledPos);
float2 gridEdge = abs(frac(scaledPos) - 0.5);
将两个不同 gridWidth 对应的网格线算出来后,线性插值一下就有过渡效果了。gridWidth 建议指数级增大,这样才有大格子套小格子的感觉。
实现
- 代码是用我自制的 DX12 ShaderLab 编写的,和 Unity 的稍有不同。
- Vertex Shader 参考我之前写的 Blit 。
Shader "SceneViewGrid"
{
    Properties
    {
        _XAxisColor("X Axis Color", Color) = (0.5, 0.0, 0.0, 0.5)
        _ZAxisColor("Z Axis Color", Color) = (0.0, 0.0, 0.5, 0.5)
        _LineColor("Line Color", Color) = (0.3, 0.3, 0.3, 0.4)
        [Range(0, 1)] _Antialiasing("Anti-aliasing", Float) = 0.5
        [Range(0, 1)] _FadeOut("Fade Out", Float) = 0.8
    }

    Pass
    {
        Name "WorldGrid"

        Cull Off
        ZTest Less
        ZWrite Off

        Blend SrcAlpha OneMinusSrcAlpha, Zero One

        HLSLPROGRAM
        #pragma target 6.0
        #pragma vs vert
        #pragma ps frag

        #include "Includes/Common.hlsl"

        cbuffer cbMaterial
        {
            float4 _XAxisColor;
            float4 _ZAxisColor;
            float4 _LineColor;
            float _Antialiasing;
            float _FadeOut;
        };

        struct Varyings
        {
            float4 positionCS : SV_Position;
            float2 uv : TEXCOORD0;
        };

        Varyings vert(uint vertexID : SV_VertexID)
        {
            Varyings output;
            output.positionCS = GetFullScreenTriangleVertexPositionCS(vertexID);
            output.uv = GetFullScreenTriangleTexCoord(vertexID);
            return output;
        }

        float3 GetDepthAndWorldPosition(float2 uv, out float depth)
        {
            float4 ndc = float4(uv.x, 1 - uv.y, 0, 1);
            ndc.xy = ndc.xy * 2 - 1;

            float4x4 ivp = _MatrixInvViewProjection;
            ndc.z = dot(ivp[1].xyw, ndc.xyw) / (-ivp[1].z);

            if (ndc.z < 0.0 || ndc.z > 1.0)
            {
                discard;
            }

            depth = ndc.z;

            float4 positionWS = mul(ivp, ndc);
            positionWS /= positionWS.w;
            return positionWS.xyz;
        }

        float4 GetGridColor(float3 positionWS, float level)
        {
            float gridWidth = pow(10, level);
            float2 scaledPos = positionWS.xz / gridWidth;
            float2 diff = fwidth(scaledPos); // 值越大,离得越远
            float2 gridEdge = abs(frac(scaledPos) - 0.5);

            float2 halfLineWidth = (1.0 + _Antialiasing) * diff; // 离得越远越粗
            float2 threshold = 0.5 - halfLineWidth;
            float2 intensity = smoothstep(threshold, 0.5, gridEdge); // 羽化边缘,减少锯齿

            float alpha = max(intensity.x, intensity.y);
            alpha *= pow(saturate(1 - max(diff.x, diff.y)), _FadeOut * 10); // 离得越远越淡

            float4 color;

            if (abs(scaledPos.x) < halfLineWidth.x)
            {
                color = _ZAxisColor;
            }
            else if (abs(scaledPos.y) < halfLineWidth.y)
            {
                color = _XAxisColor;
            }
            else
            {
                color = _LineColor;
            }

            return float4(color.rgb, color.a * alpha);
        }

        float4 frag(Varyings input, out float depth : SV_Depth) : SV_Target
        {
            float3 positionWS = GetDepthAndWorldPosition(input.uv, depth);

            // 划分等级
            // level:      0       1        2         3         ...
            // cameraY: 0 --- 100 --- 1000 --- 10000 --- 100000 --- ...
            float cameraY = abs(_CameraPositionWS.y);
            float level = max(0, floor(log10(cameraY) - 1));
            float pow10Level = pow(10, level);
            float nextHeight = pow10Level * 100;
            float prevHeight = level == 0 ? 0 : (pow10Level * 10);
            float progress = (cameraY - prevHeight) / (nextHeight - prevHeight);

            float4 c1 = GetGridColor(positionWS, level);
            float4 c2 = GetGridColor(positionWS, level + 1);
            return lerp(c1, c2, progress);
        }
        ENDHLSL
    }
}
参考
- How to make an infinite grid. | A Slice of Rendering
- 【UnityShader】无限网格(Infinite Grid )(14) - 知乎 (zhihu.com)
- 如何绘制一个无限大的网格 - 知乎 (zhihu.com)
